Using OpenSCAD to build custom 3D pieces Build Your Own Body
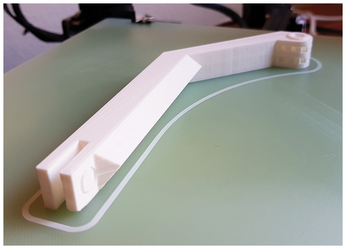
Final Piece
Listing 6 shows how you would bring all the bits and pieces together. You import all the modules from their files (lines 1 to 3), then subtract the slots and holes from the body (lines 5 to 8), and finally add the reinforcement beam (line 10).
Listing 6
support.scad
01 use <body.scad>;
02 use <reinforcement.scad>;
03 use <slots.scad>;
04
05 difference () {
06    body();
07    slots();
08 }
09
10 reinforcement();
Press F6 to build the piece and then use the STL button at the end of the editor's toolbar to export the piece to STL.
You can then use a slicer like Cura [3] (Figure 10 again) to make the object ready for your printer. Cura is available in the repositories of most Linux distributions and will open your STL file. Cura also comes with configurations for many of the most popular printers. Choose yours from the list, and it will allow you to place, rotate, and scale your object, as well as let you set the resolution and infill, and so on.
Just in case, the piece you have seen in this article does require supports, as you can see in Figure 11.
Conclusion
Although this example is very specific, you should be able to use the object for your own printer even if it is a different model with some minor tweaks.
The more interesting point is that, with OpenSCAD, you can create pretty complex pieces that then translate into real world, useful objects. The potential for these kinds of things is huge, and OpenSCAD is a good way to reach it.
Infos
- "Designing Your Own Stuff with OpenSCAD" by Paul Brown, Linux Magazine, issue 222, May 2019, pp. 90-94, http://www.linux-magazine.com/Issues/2019/222/Designing-your-own-stuff-with-OpenSCAD
- OpenSCAD: http://www.openscad.org/
- Cura: https://ultimaker.com/en/products/ultimaker-cura-software
« Previous 1 2
Buy this article as PDF
(incl. VAT)
Buy Linux Magazine
US / Canada
UK / Australia