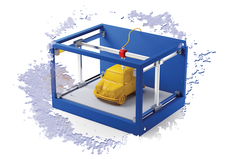
Going from a sketch to a printed object
Emergence

How do you get from an idea to a finished printed object? We'll take you through the steps with a glamorous example: a pair of 3D-printed earrings.
Every 3D-printed project begins with an idea. Where does the idea come from? The simplest solution is to use a model that already exists. Several Internet platforms collect finished 3D models, including MyMiniFactory [1], Thingiverse [2], or even a special NASA [3] website. From these sites, you can download finished 3D models for printing, and in some cases, you can even publish your own 3D models for the community.
Another way to create a 3D model is to scan or photograph real-world objects and then use software, such as a photogrammetry application, to generate a model. For instance, you could photograph an object from different perspectives and from all sides; when you have created 50 or more photos, you can then convert the photos into a 3D model using specialized software. See the 3Dnatives site [4] for an overview of possible software tools, including some open source programs.
A third approach is to design a 3D model directly and then print the design. This article demonstrates this approach with a pair of earrings. Their shape was first sketched the old-fashioned way using a pencil and paper (Figure 1). You can see two rectangles pushed into each other. The next step is to transfer this project idea to a 3D model.
[...]
Buy this article as PDF
(incl. VAT)